You can install the IDonate plugin using two methods, just like other WordPress plugins. The first method is through the WordPress Dashboard, and the second method is via FTP.
Installing via the WordPress Dashboard
- Log in to the WordPress Dashboard.
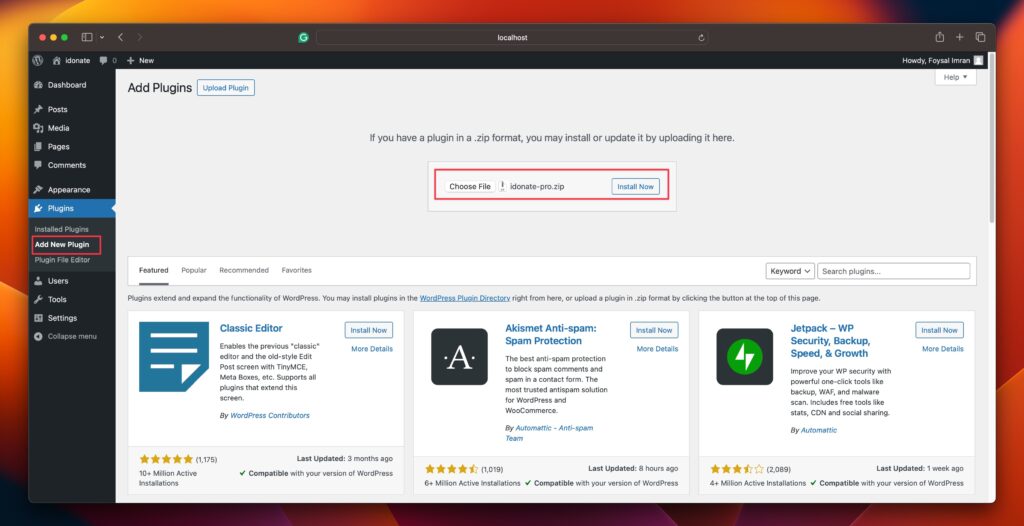
- Navigate to the Plugins → Add New → Upload Plugin.
- Click on Choose File and select the zipped file named idonate-pro.zip
- Click on Install Now; When done, click on Activate the plugin.
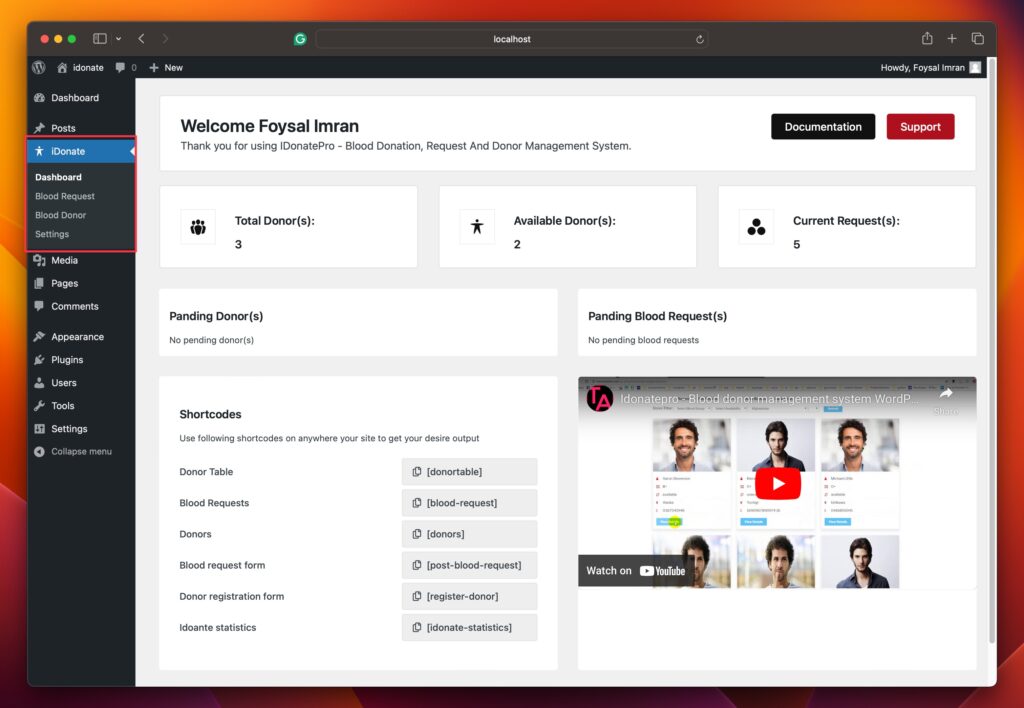
- After activating the IDonate Pro plugin, you will able to see the IDonate menu on your dashboard’s left side.
Installing via FTP
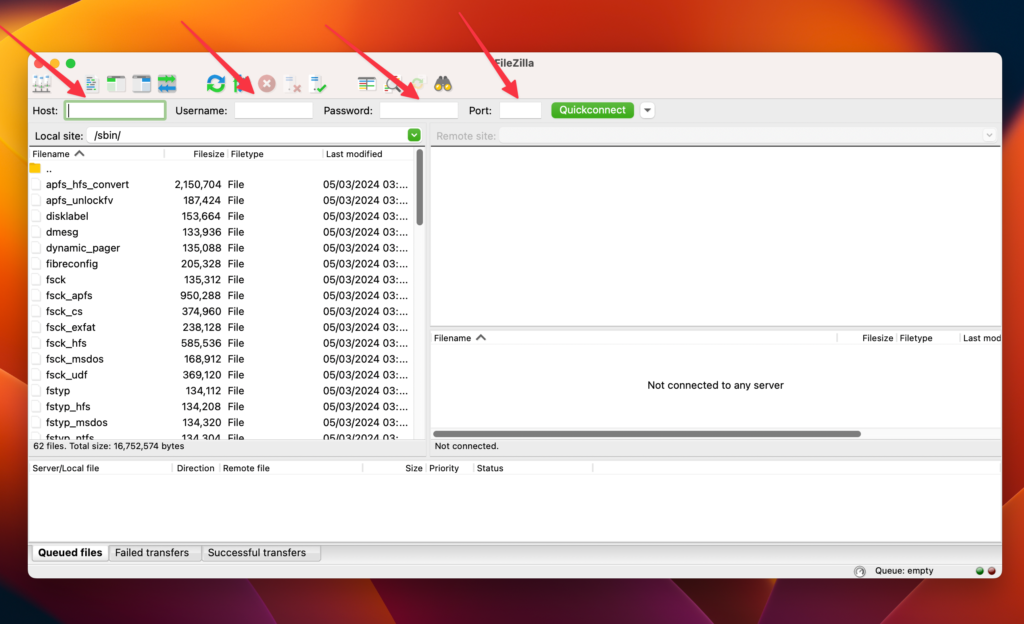
Login to your hosting using an FTP client like FileZilla or CyberDuck. You are required to fill in the following fields in your FTP client.
Once connected, upload and unzip the file in the plugins directory usually found in your hosting server’s /username/public_html/wp-content/plugins/ directory. For any assistance related to FTP settings please contact your hosting provider.