After purchasing the plugin, you may look forward to a quick guide where you will get all the information from installation to displaying the Events on your web pages. This article provides step-by-step instructions to help you set up and use the plugin effortlessly.
Installation
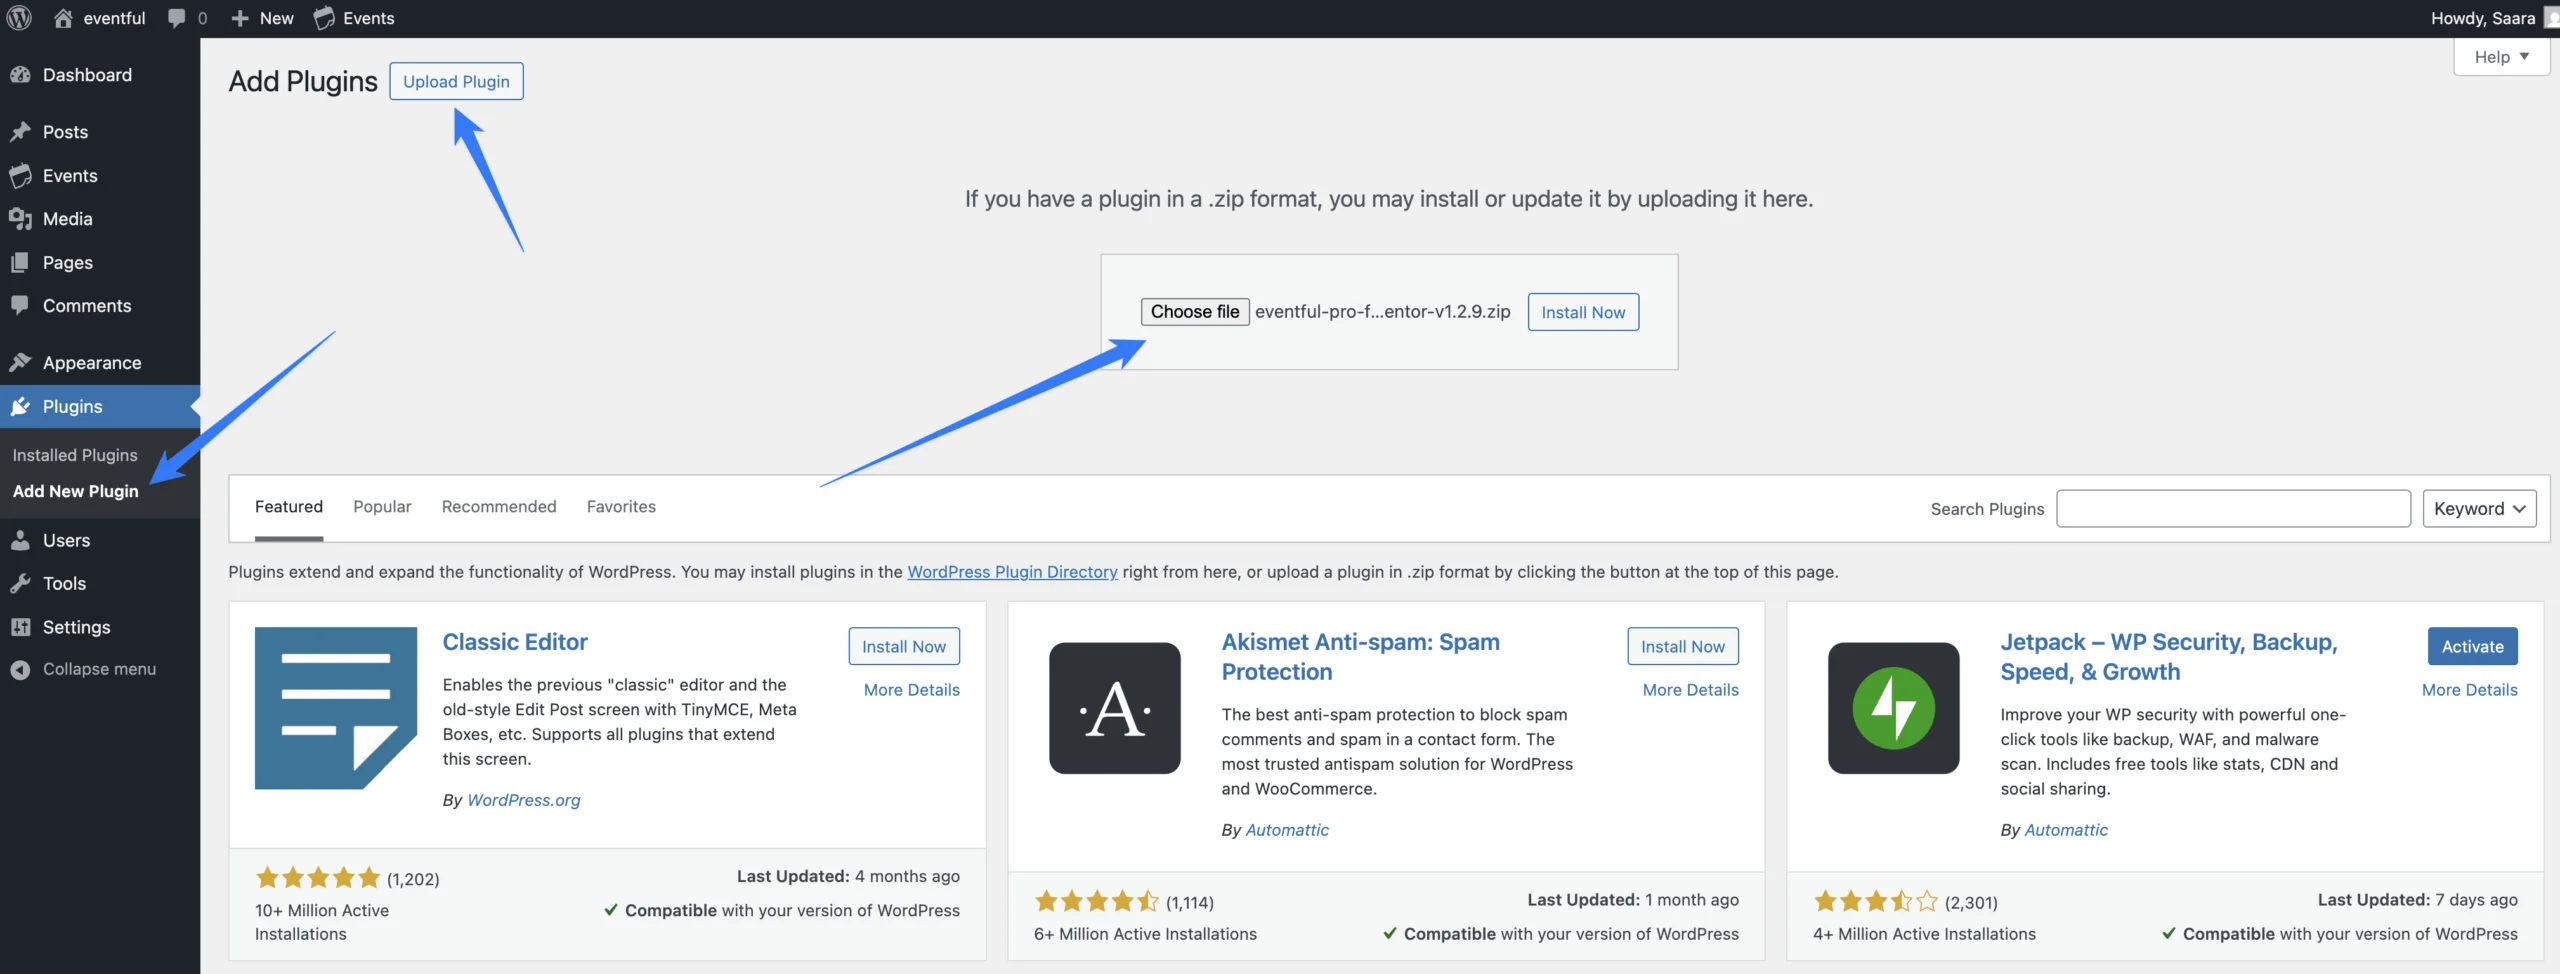
After downloading, you’ll find the files in a zip folder on your computer named eventful-pro-for-elementor.zip. Follow the steps below to install the Eventful Pro for Elementor latest version. Make sure you already have Elementor and The Events Calendar installed.
1. Go to your WordPress website Dashboard.
2. Navigate to Plugins→ Add New→ Upload Plugin.
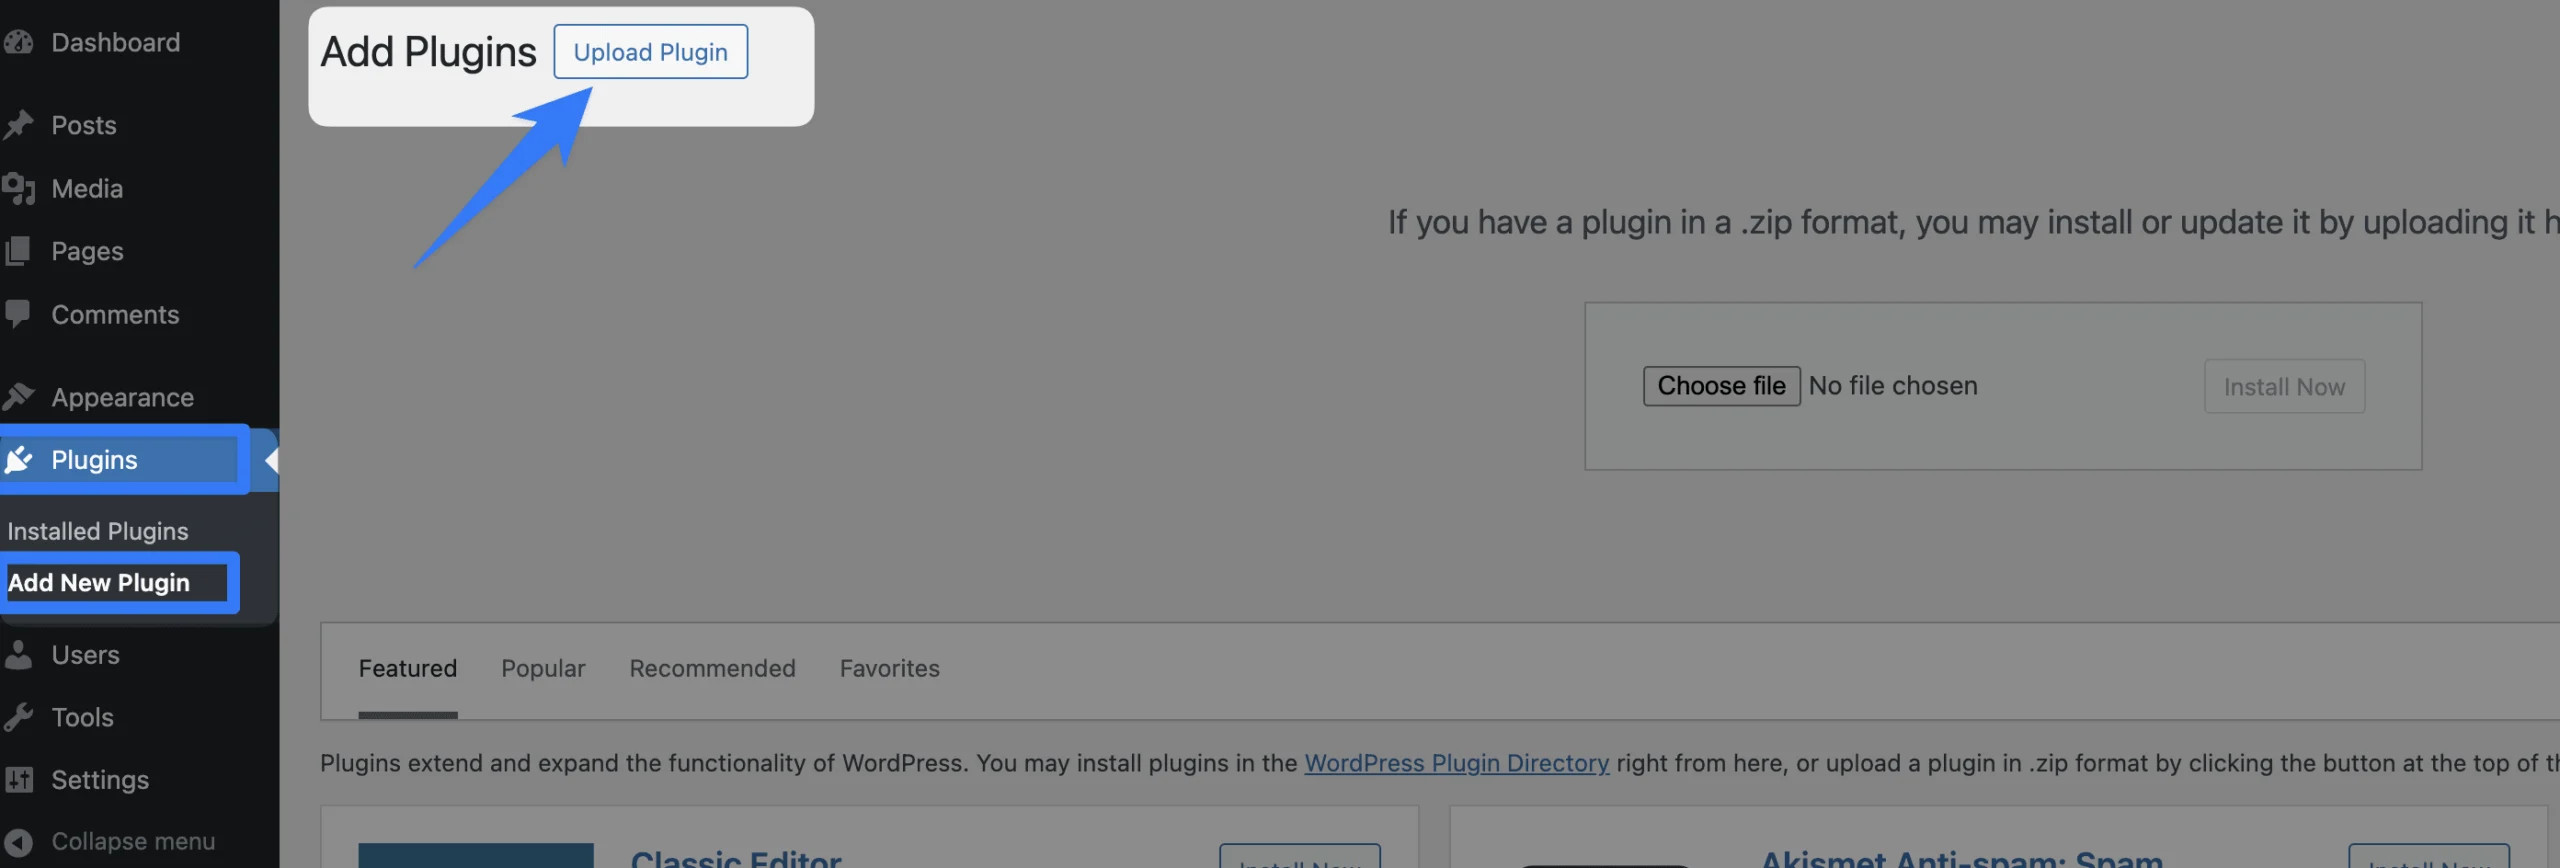
3. Once you click the “Upload Plugin” button, you will get the plugin upload option from your computer. Select the “eventful-pro-for-elementor.zip” file from your computer and click the “Install Now” button.
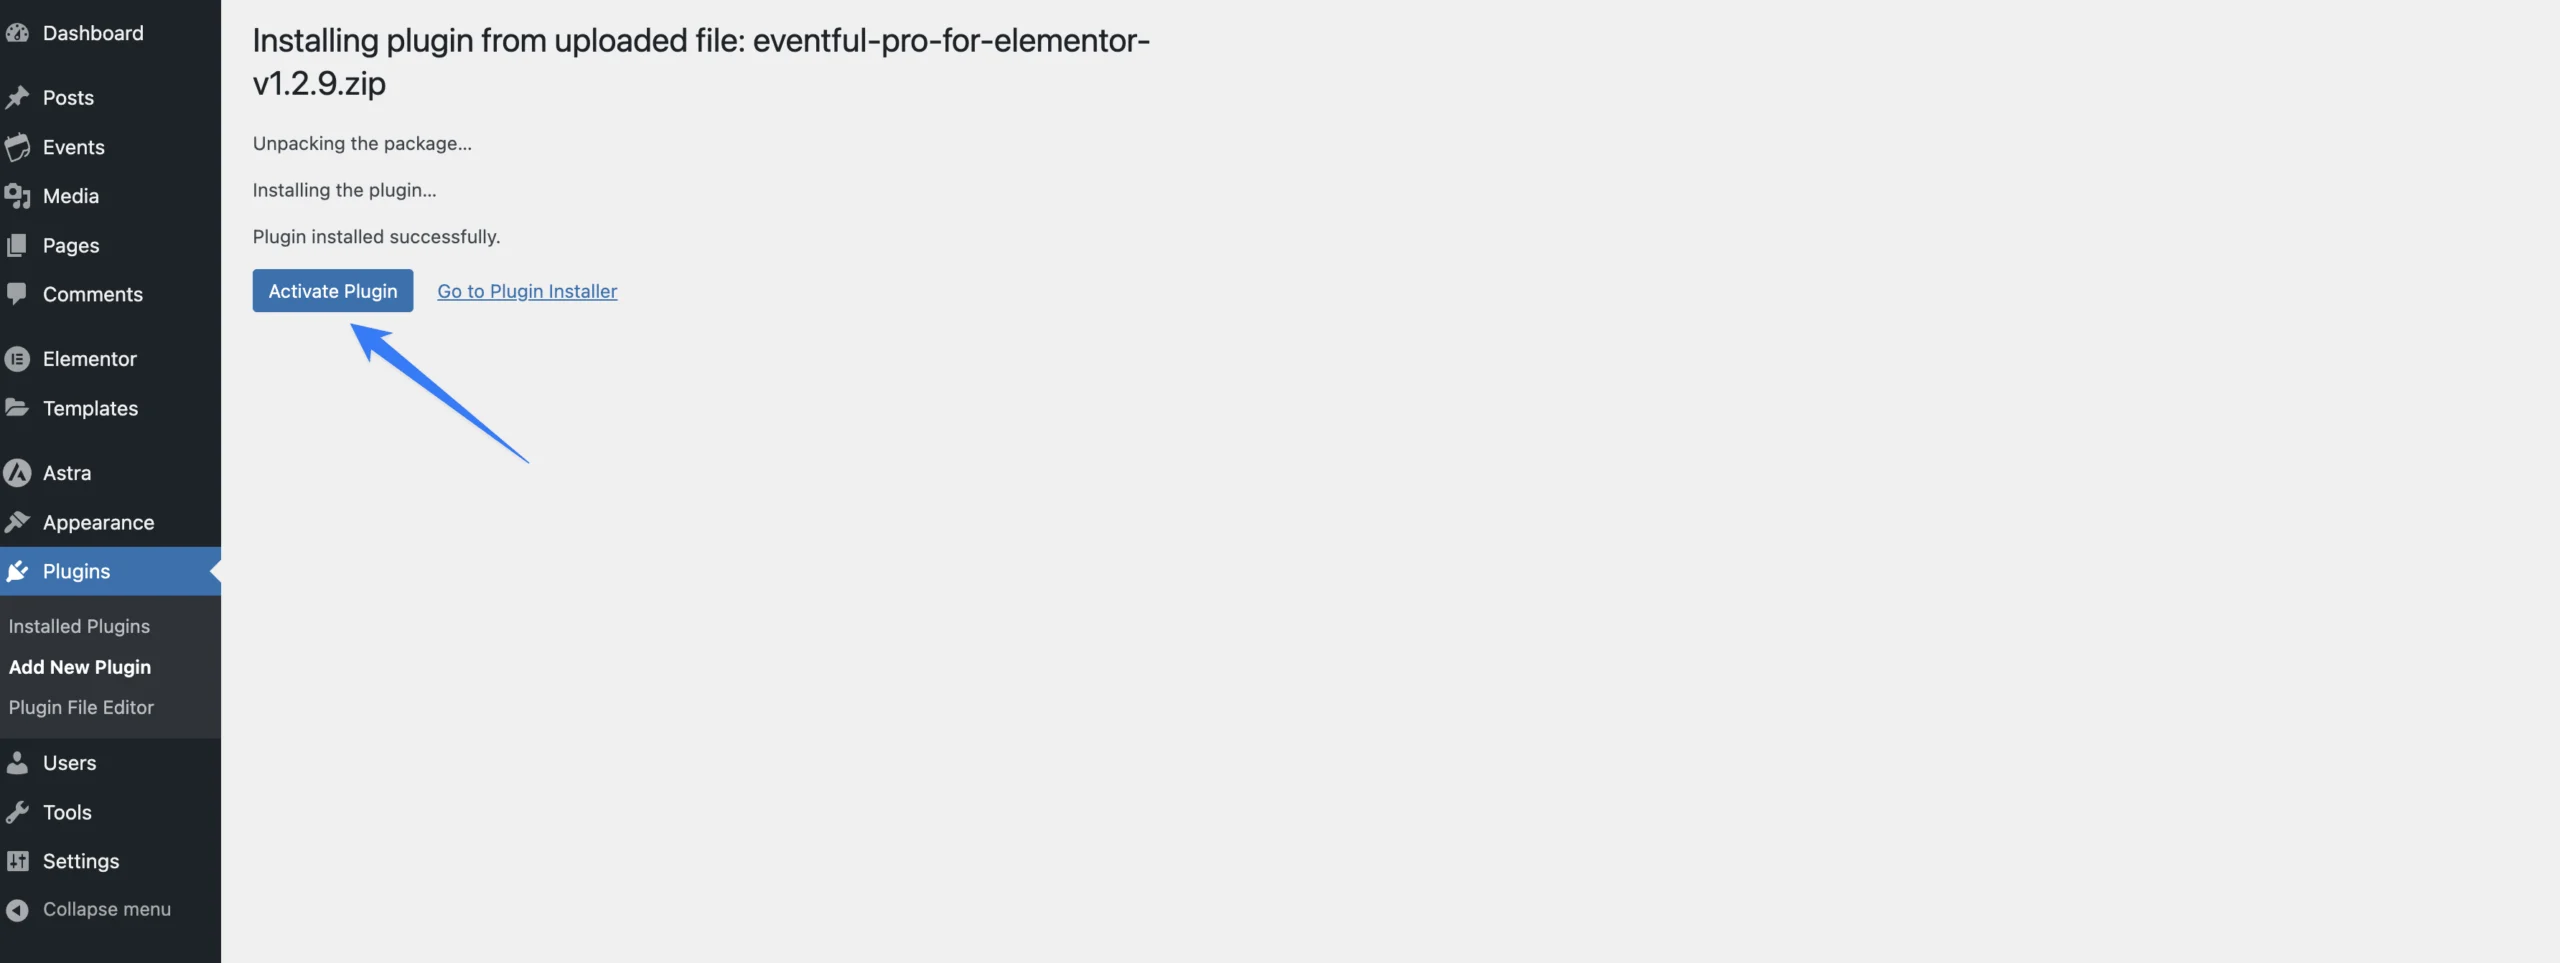
4. After successfully installing the plugin, click “Activate Plugin “ to activate the plugin.
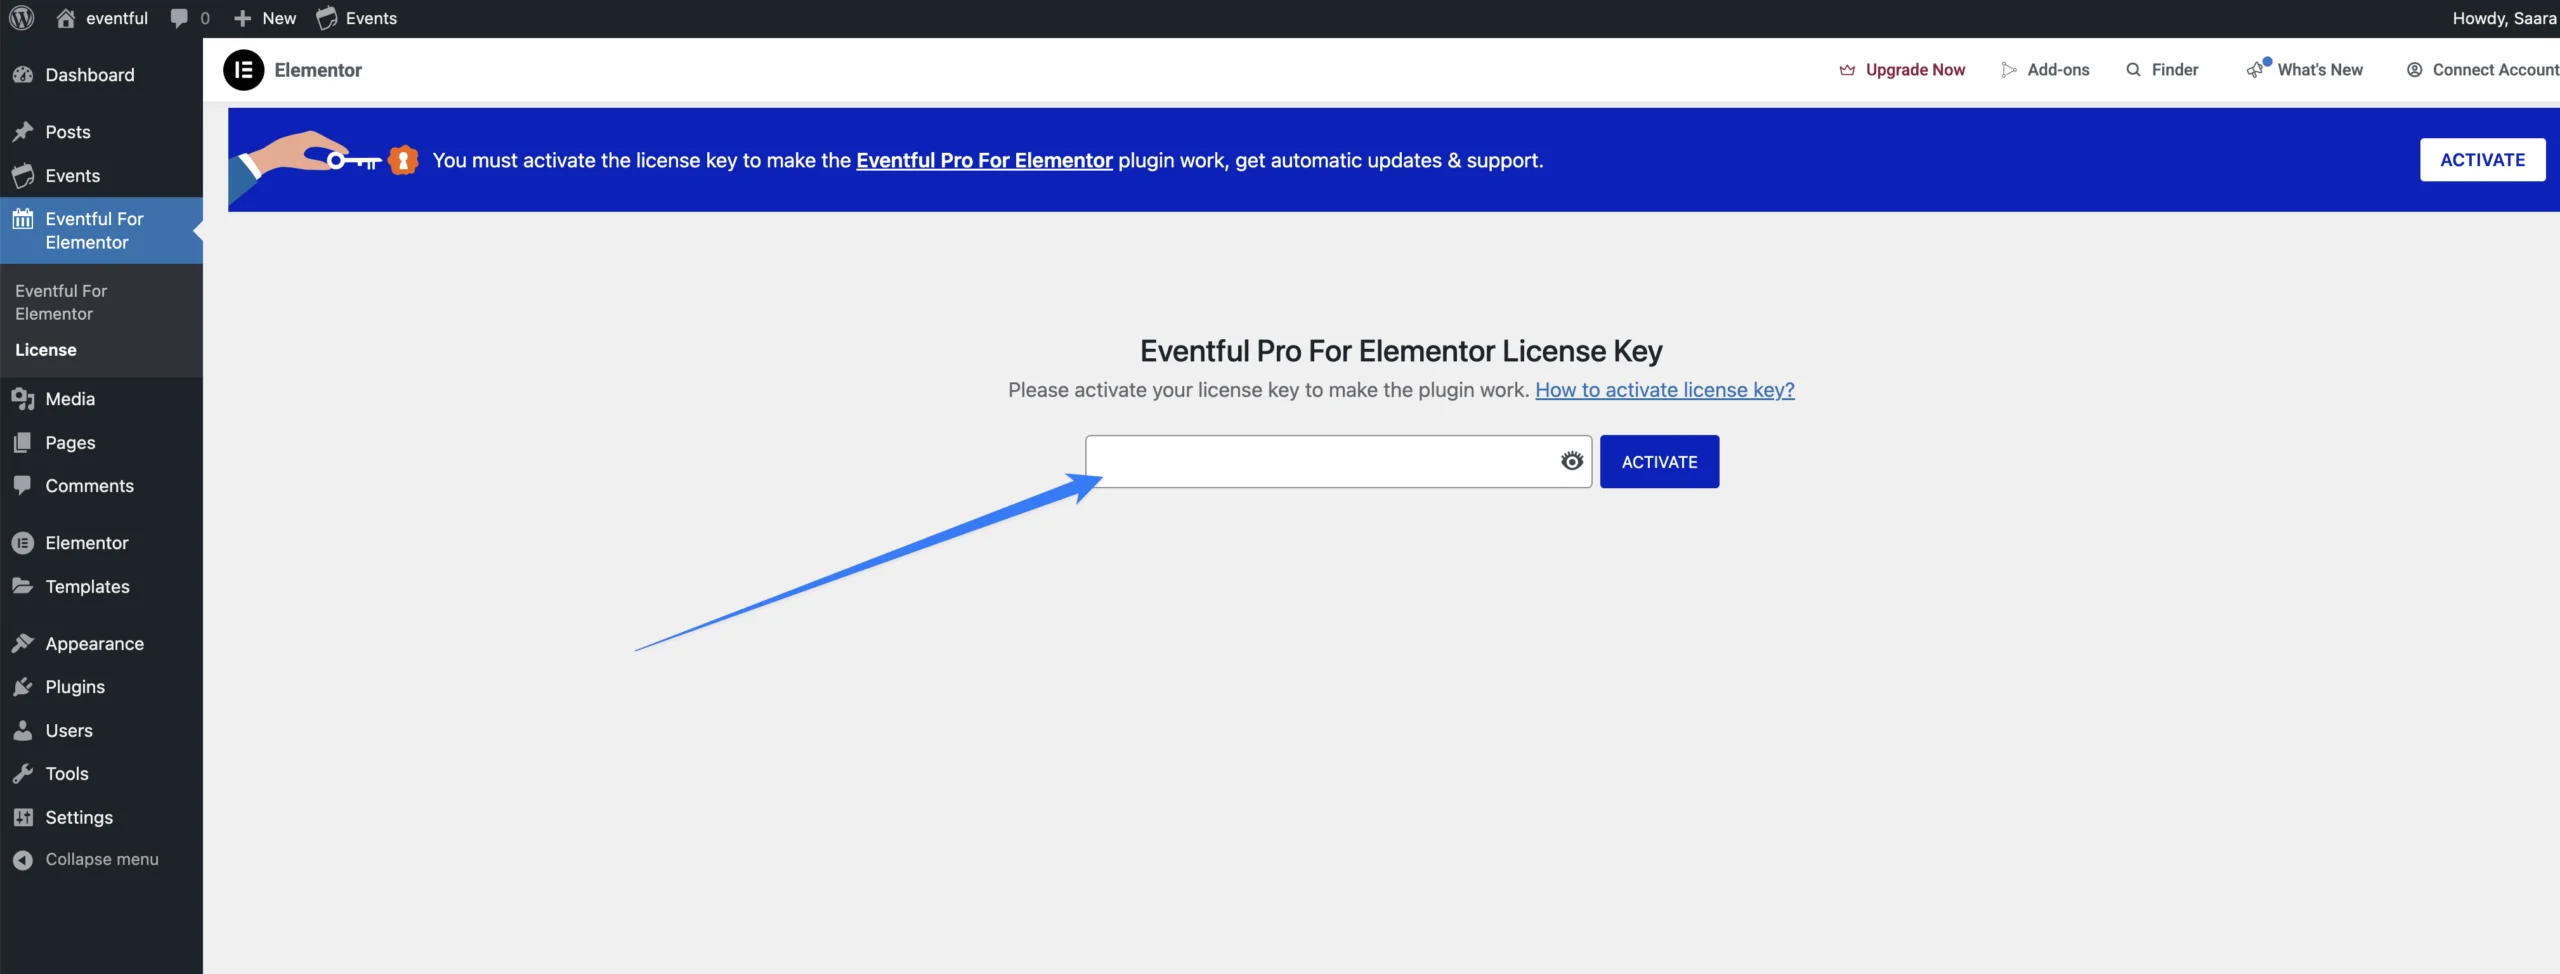
License key Activation
After activating the plugin, you will be redirected to the License Activation page. Get the License key from your Themeatelier account and insert it into the License Activation Field.
After activating the License Key, you are ready to use all Elementor widgets provided by Eventful for Elementor.
Create an Eventful Layout
We currently offer Grid, List, and Carousel widgets with the Eventful for Elementor plugin. Follow the steps below for a quick guide on how to add and configure them.
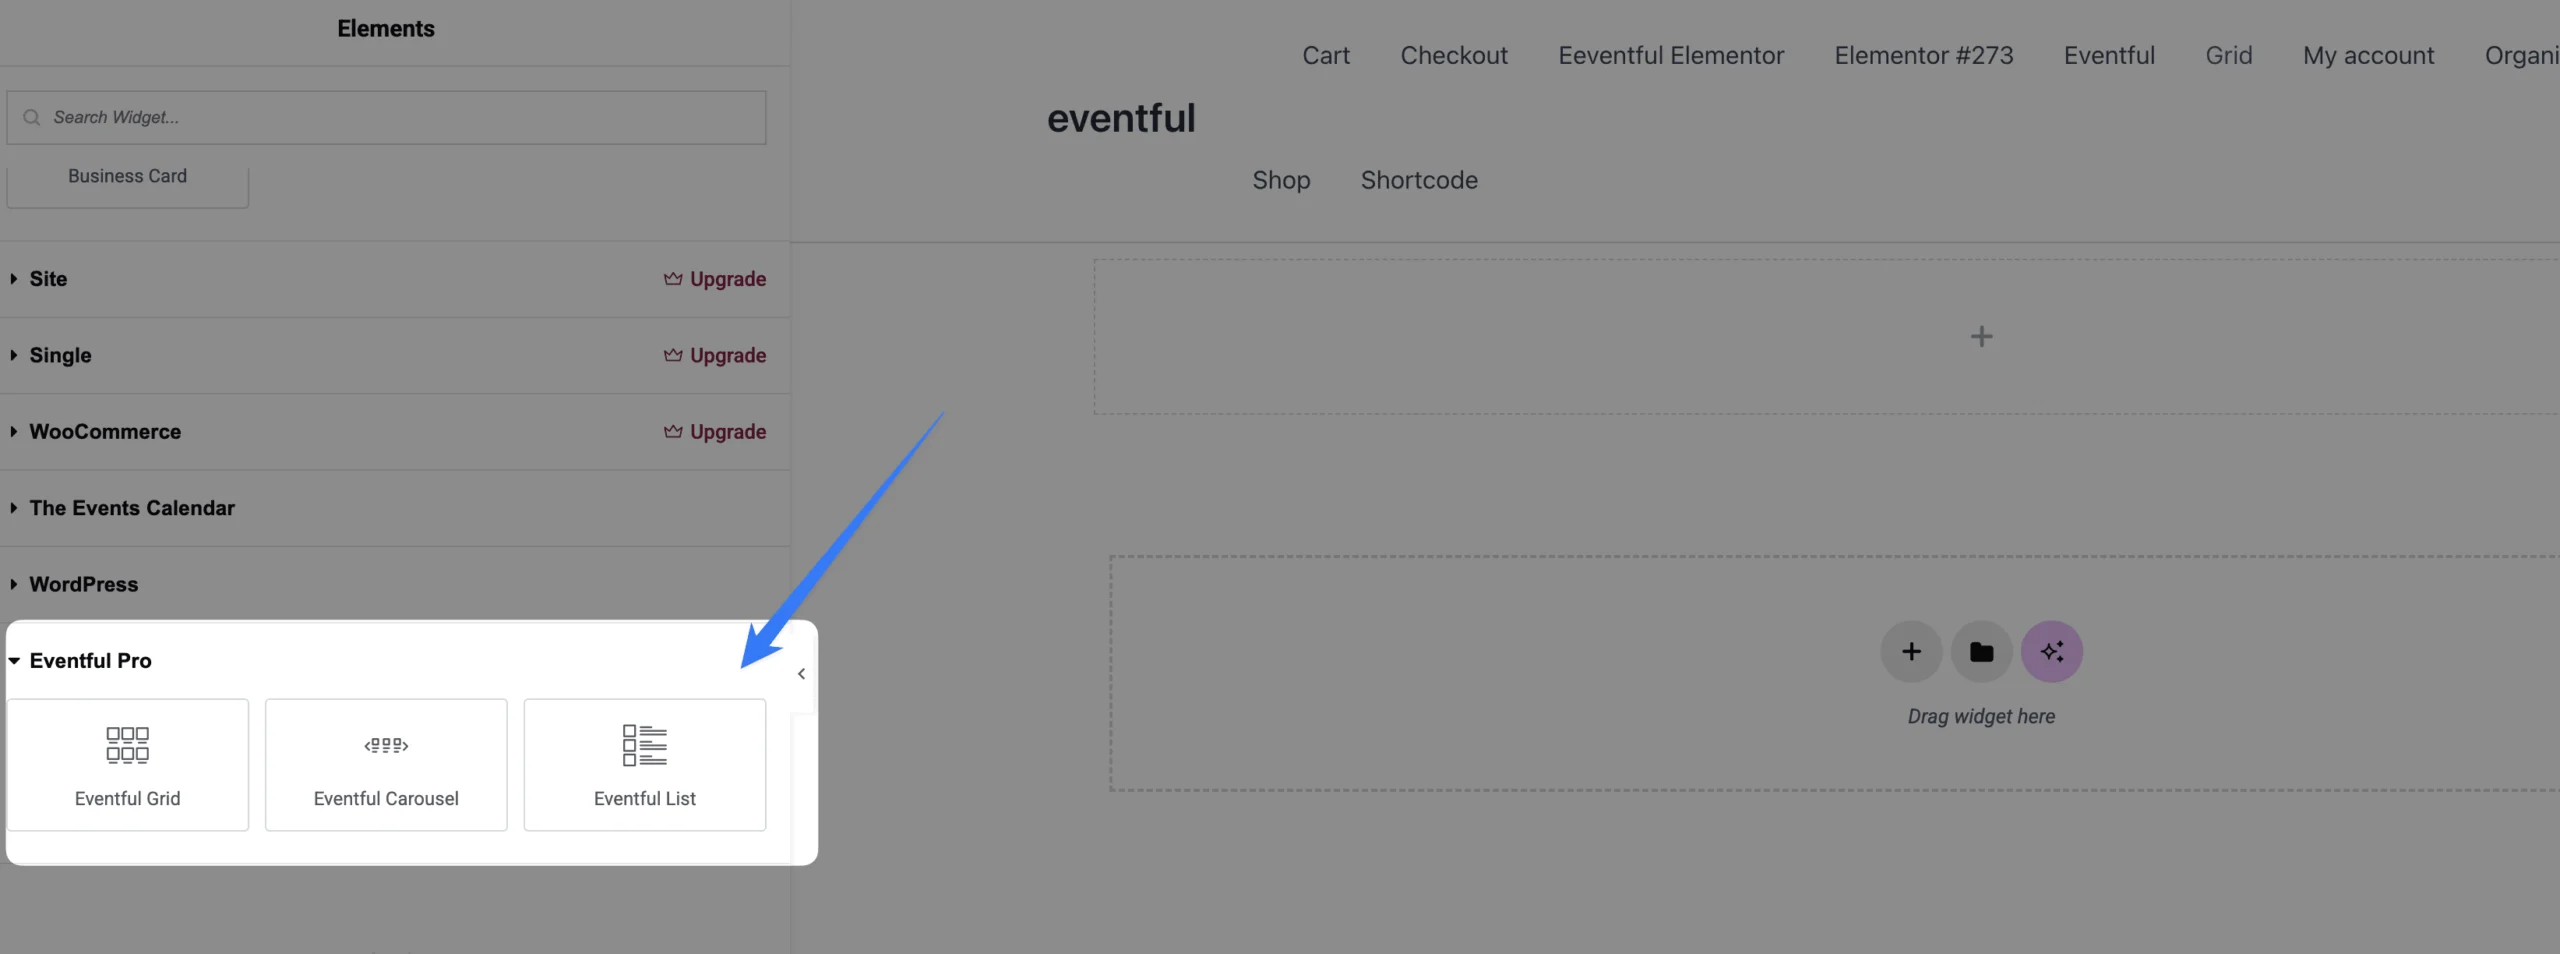
To showcase an event on your post, edit or create the page using the Elementor page builder. In Elementor, navigate to the Eventful Pro category, where you’ll find three new widgets for creating your event showcase. Simply drag and drop your preferred widget layout onto the page to get started.

In this example we are shoing Eventful grid widget options.
In this example, we’re showcasing the Eventful Grid widget options:
(1) Layout – Configure all layout-related settings, including selecting which events to include or exclude.
(2) Content – Choose to show or hide event elements such as the featured image, title, content, and “Read More” button.
(3) Pagination – Select from different pagination styles.
(4) Query – Filter and display specific events based on custom query settings.
(5) Detail Settings – Customize the detail page behavior when an item is clicked.
Eventful Demos
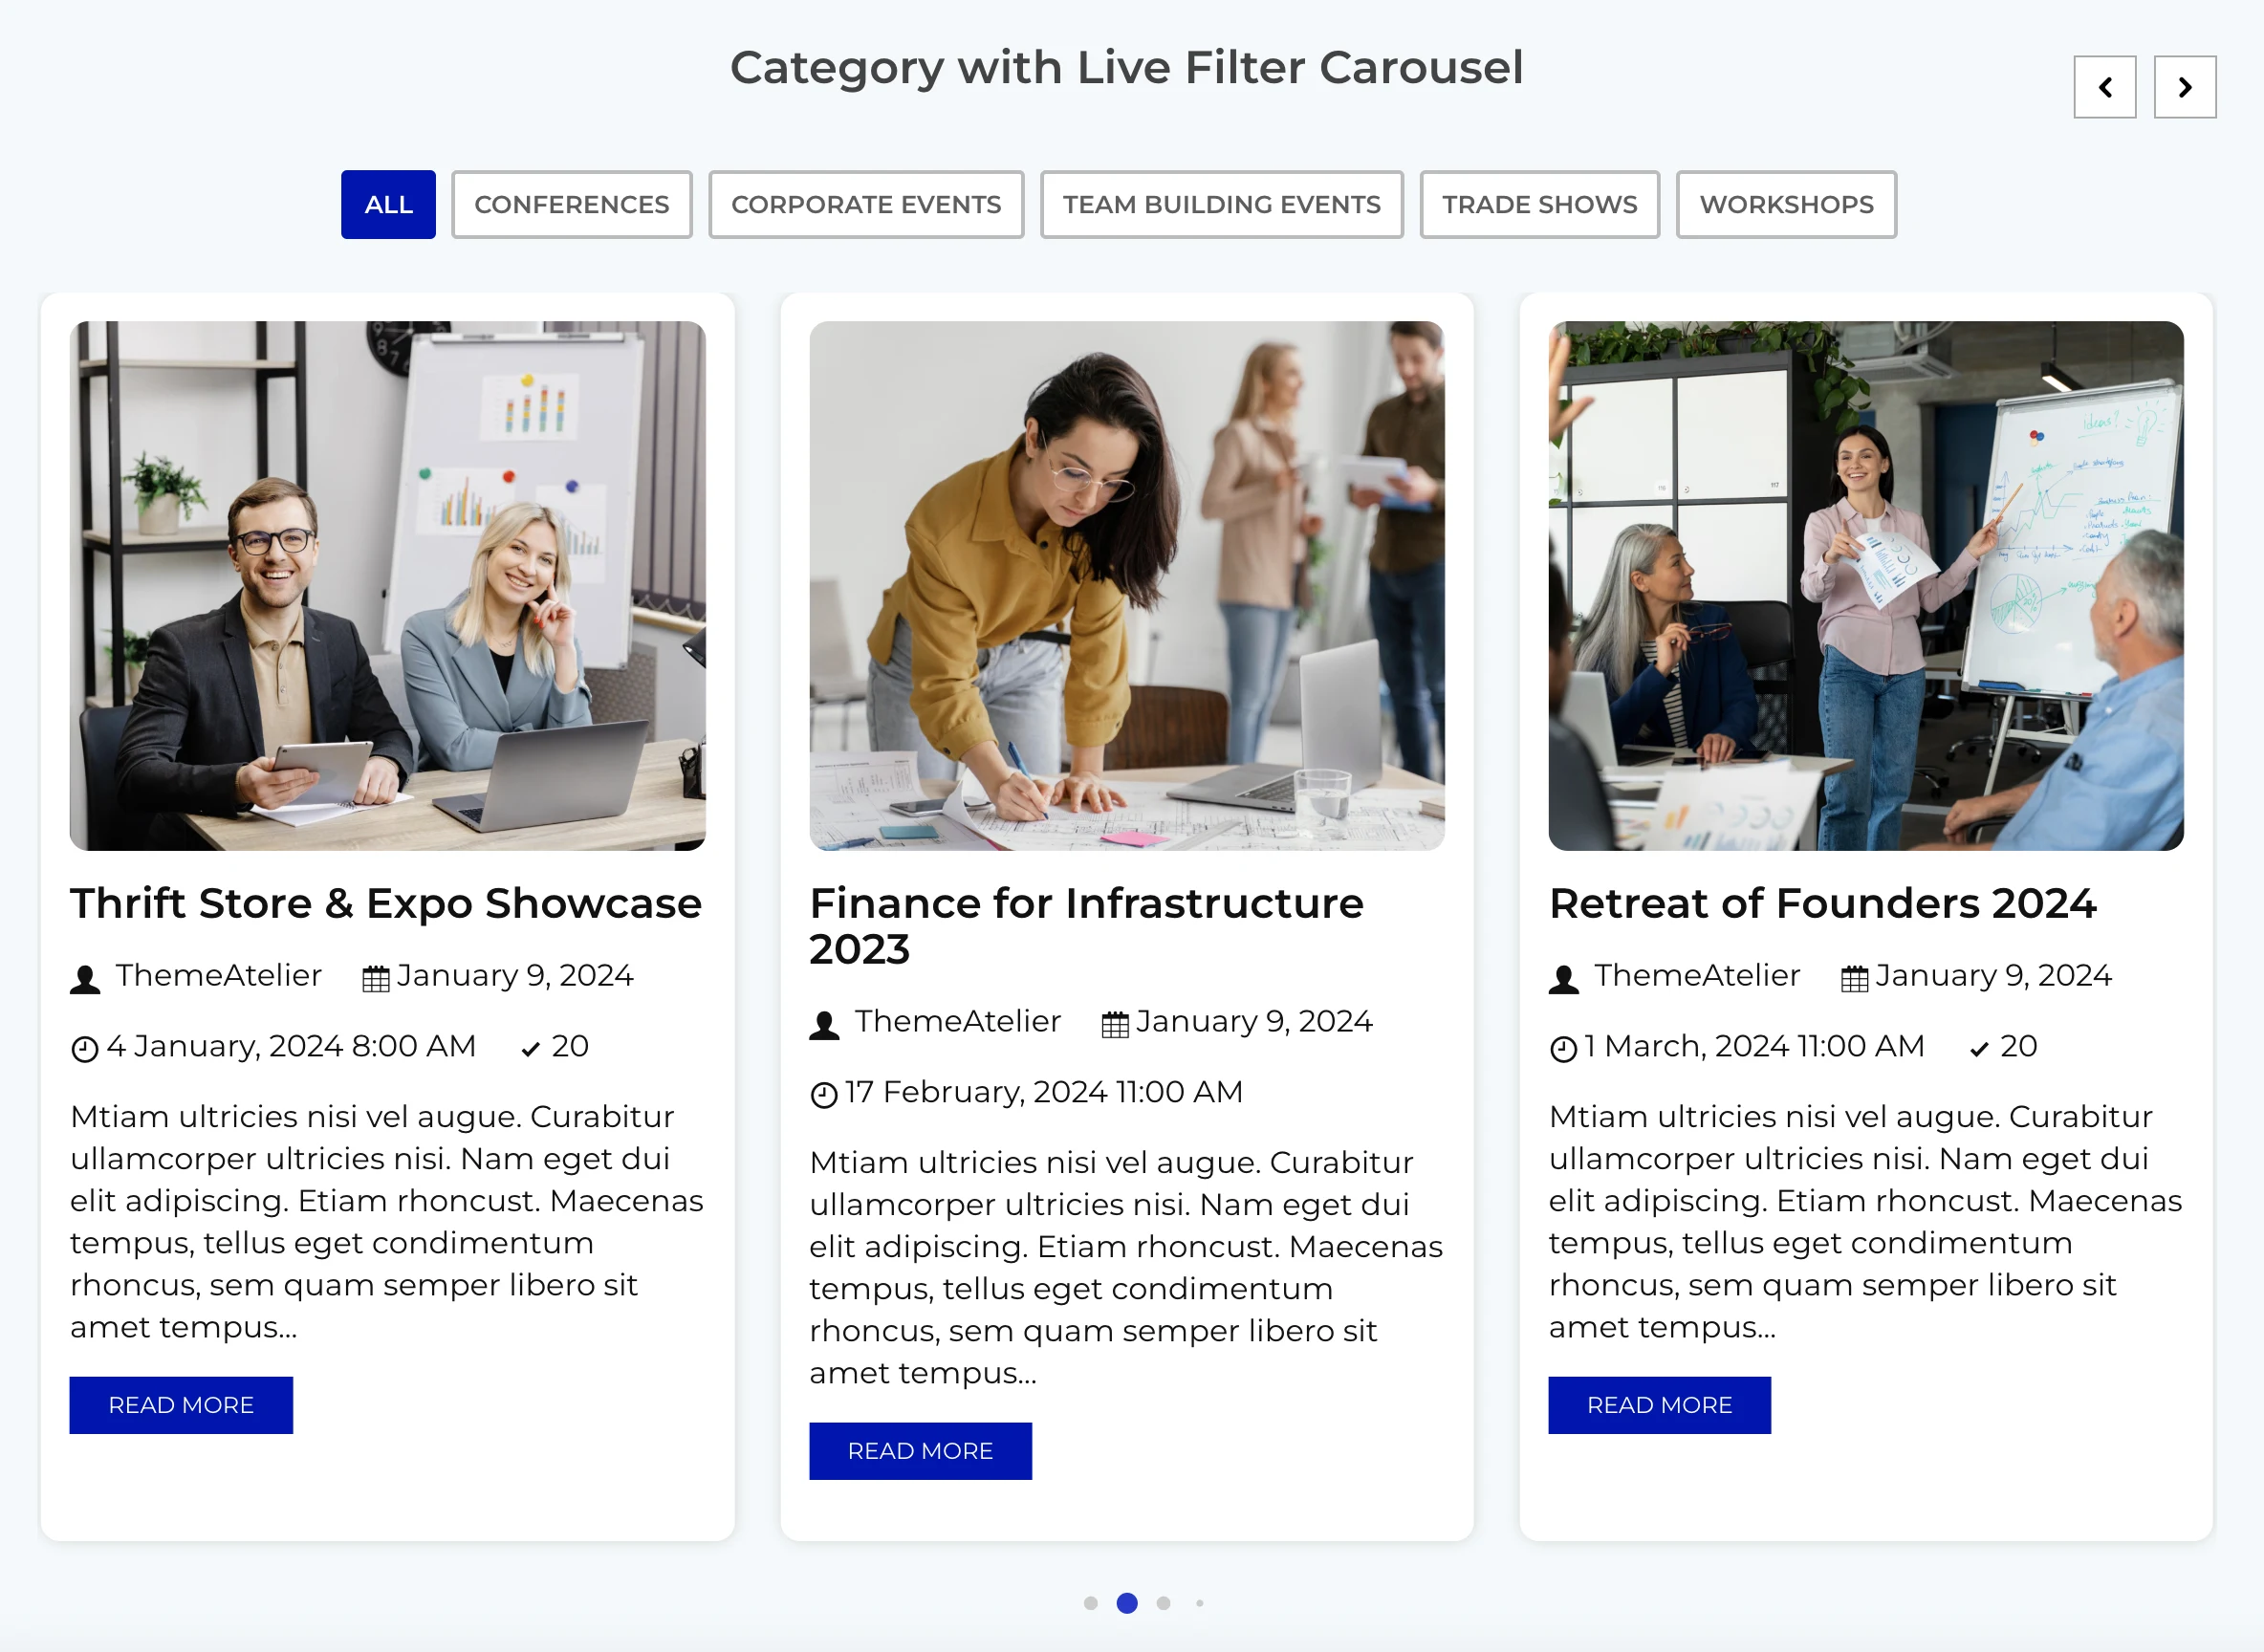
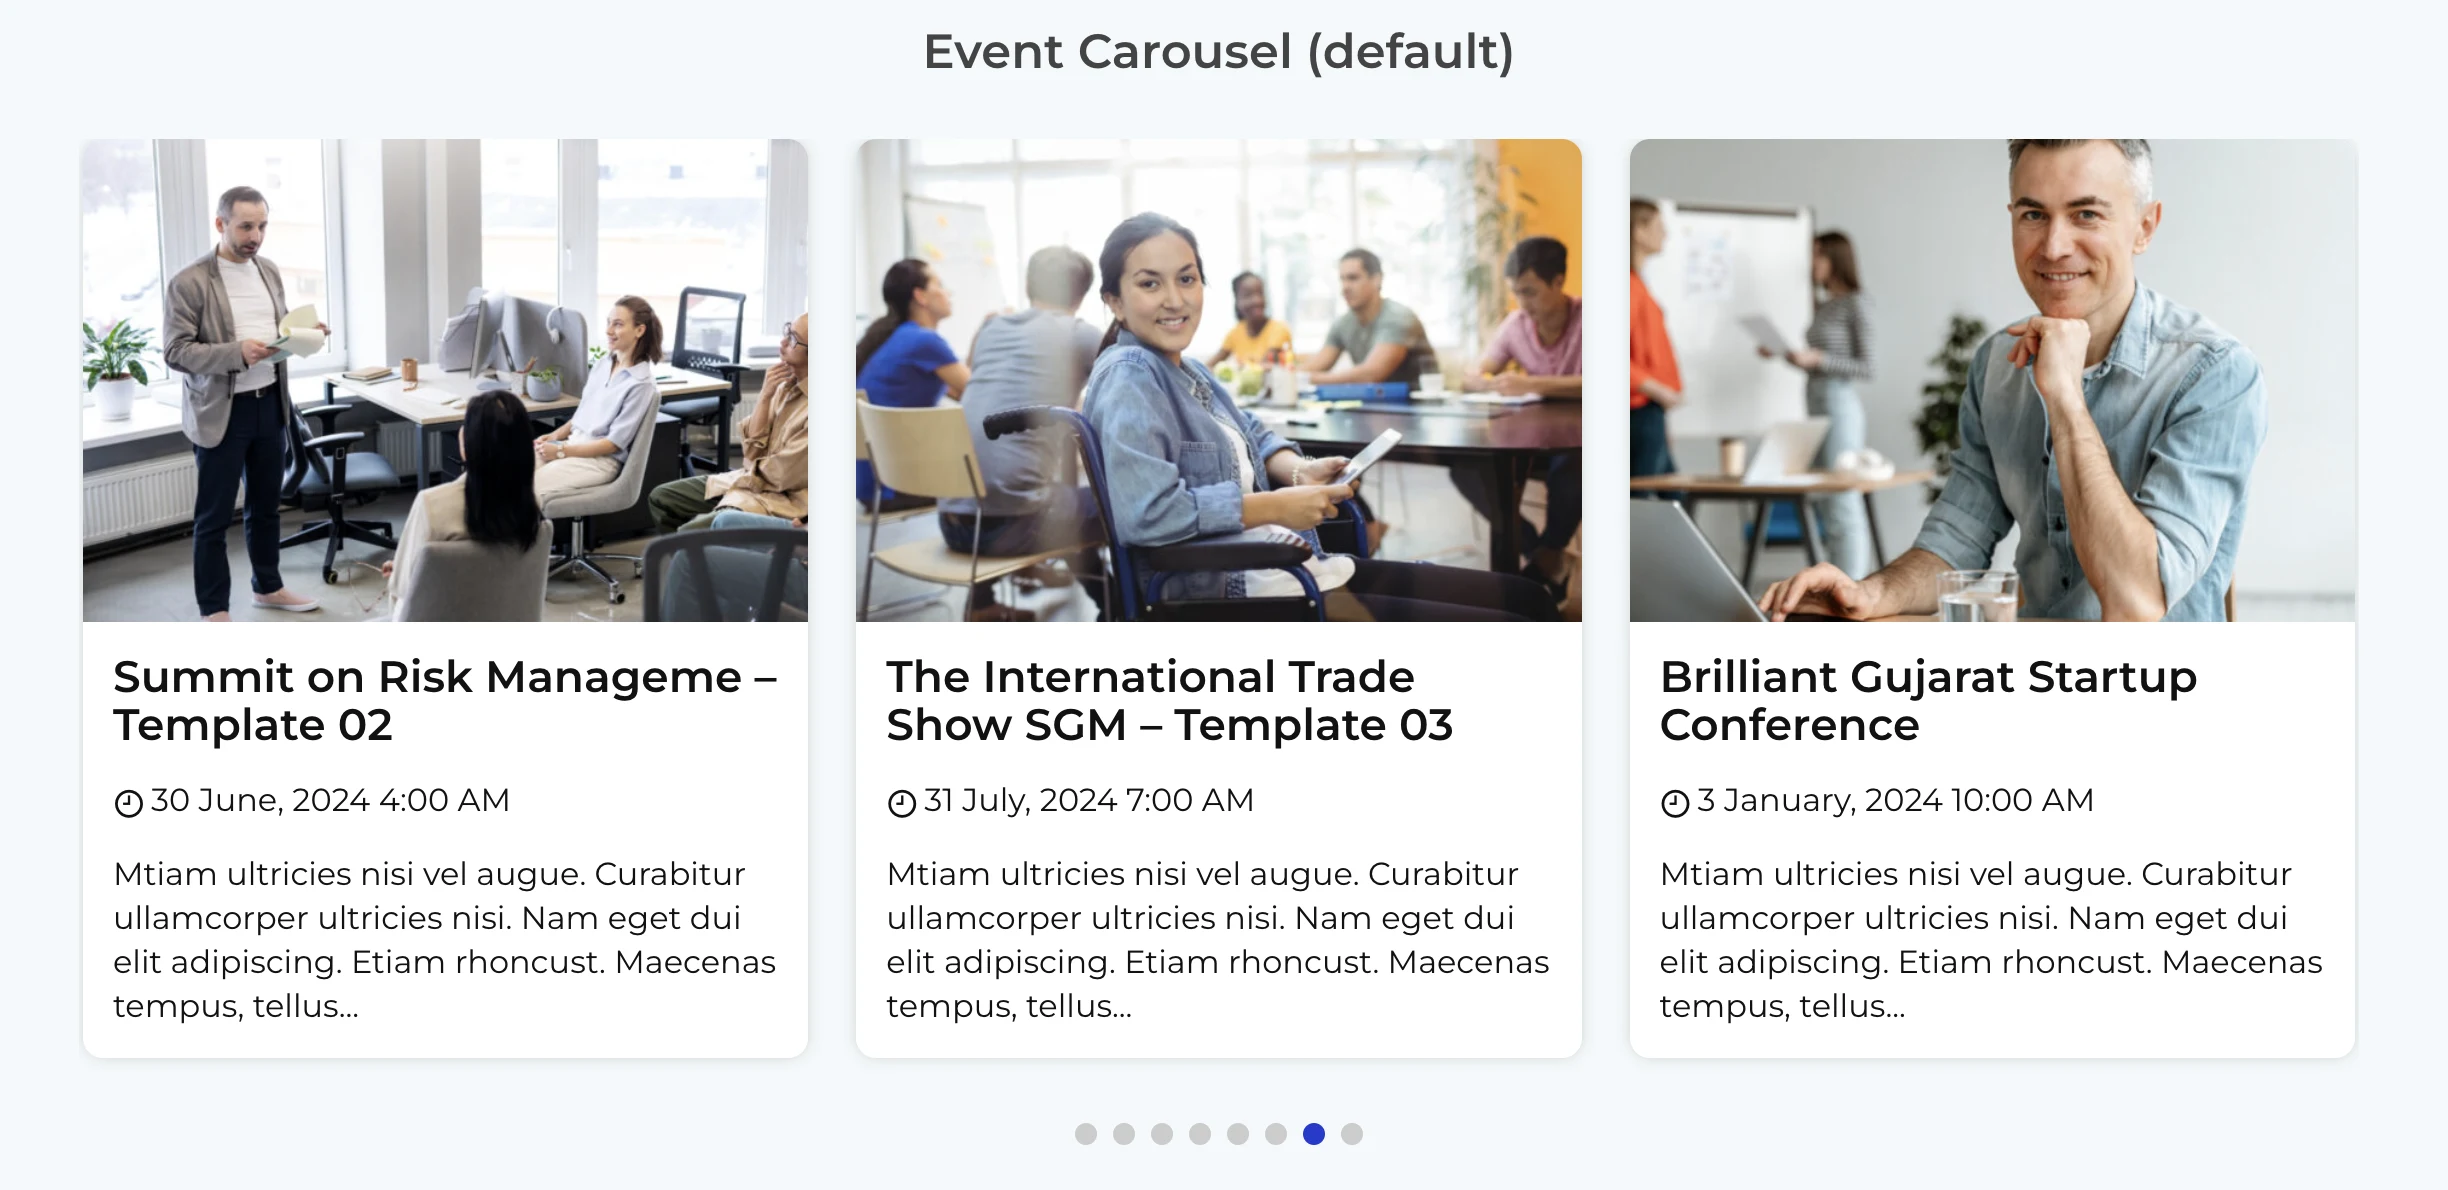
More Demos Here→